Examples#
This sections will give practical examples of the steps to follow in order to create a class, assembling basic objects and their properties and attributes. The preliminary steps before the shaping of the class are:
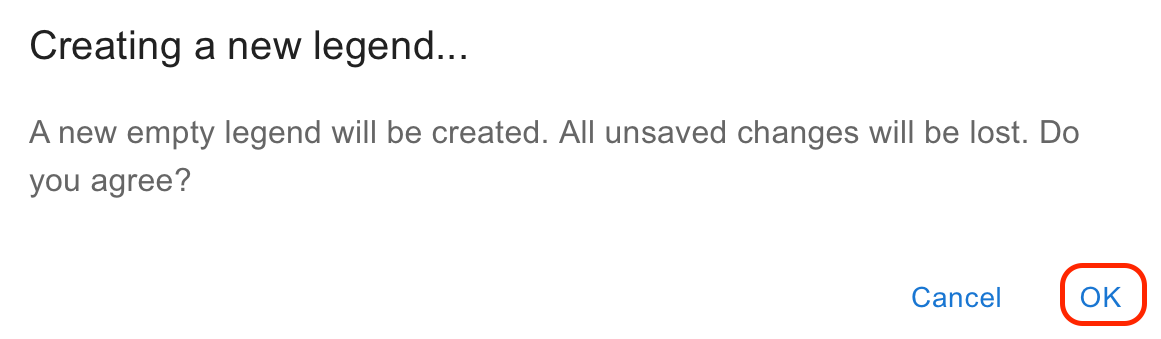
Create a new legend by clicking on the new button under Legend from the main menu. Cl
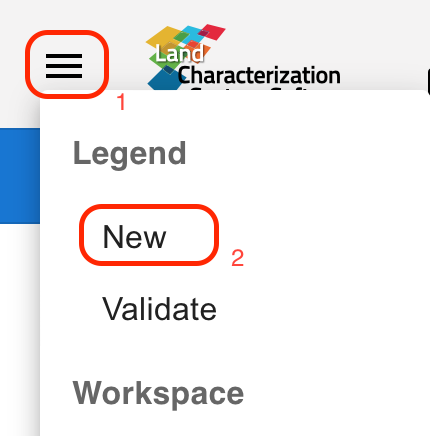
ick ok to confirm.
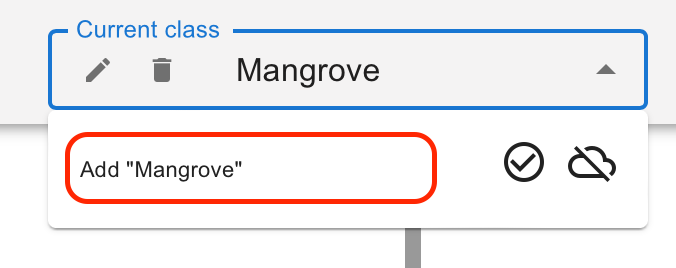
Add the new land cover class first by typing the name of class in the Class selector and either by clicling on the ‘Add’ class name button or pressing the enter key on your keyboard.
It will generate three basic nodes: Class descriptor, Horizontal pattern #1 and Statum #1.
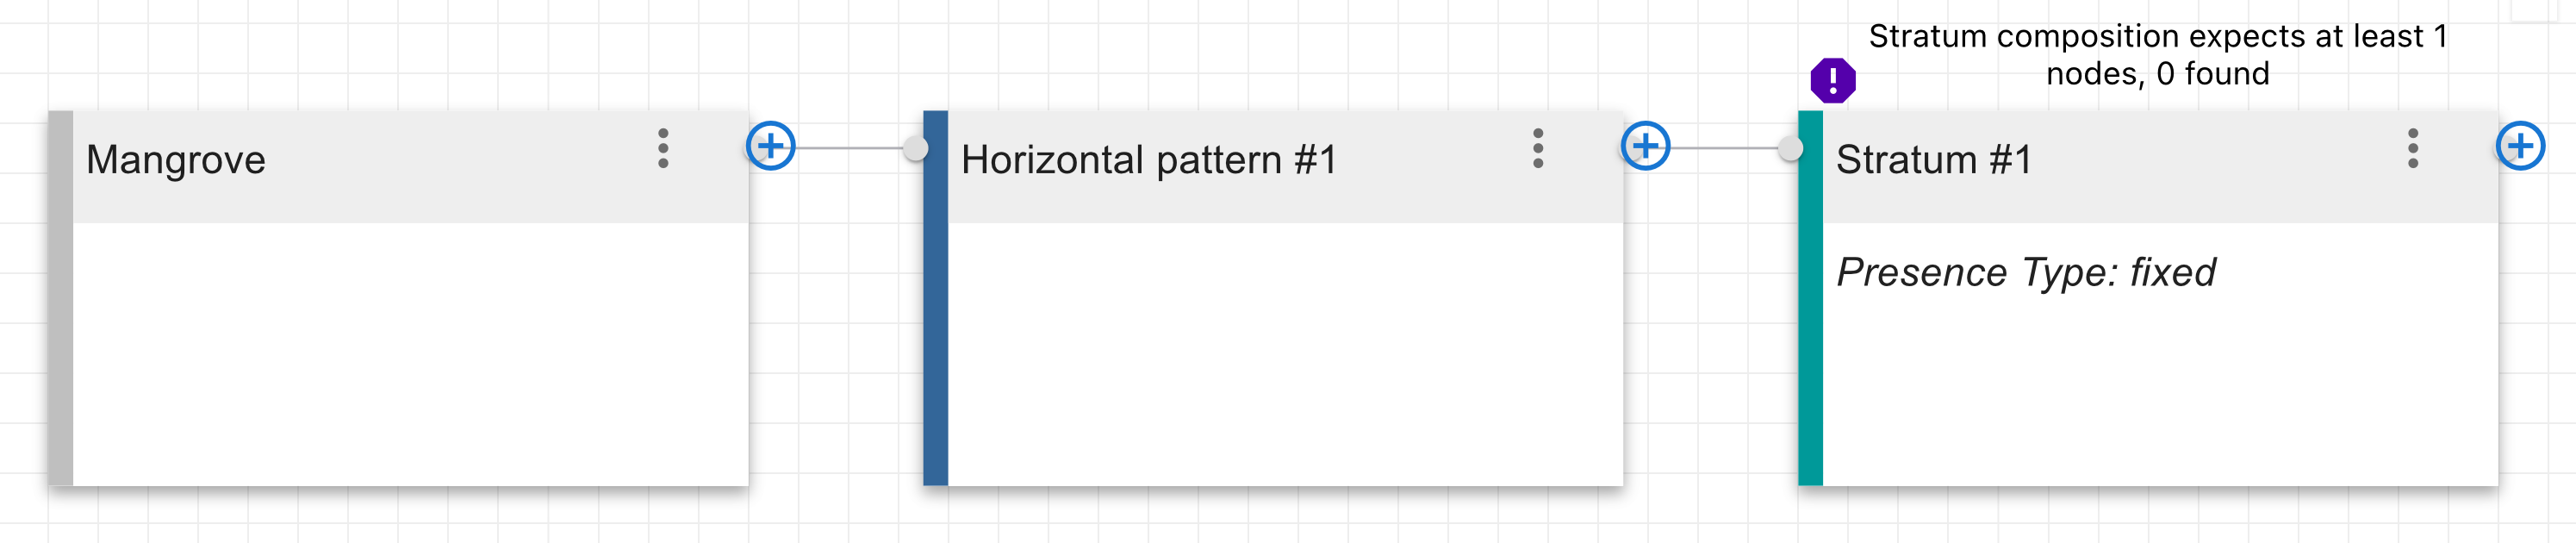
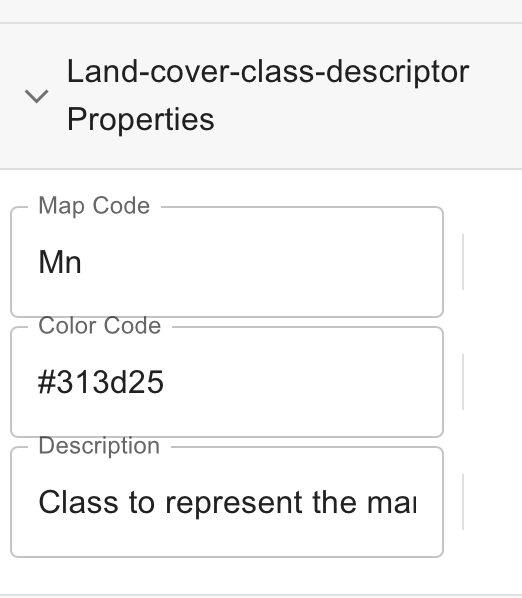
Click on the class information pane on the right and select the first node (class descriptor node) to specify some optional attributes like map code, colour to be used on the map to represent the classs or some basic descriotion of the class
Example 1: broadleaved deciduous natural trees#
Postulation:#
This class involves the use of only one LCML basic element (with specific properties and characteristics).
there is no extra “Horizontal Pattern”;
there is only one “Vertical Pattern” composed by the LCML element “trees” enriched by some Properties (i.e.,qualities related to the physiognomic/structural characterization of the class):
Tree Cover (in this example ranging from 80 to 100%)
Leaf Type = Broadleaved
Leaf Phenology = Deciduous;
and one Vegetation Characteristic (i.e. quality not related to the physiognomic/structural characterization of the class) named “natural semi-natural”.
The steps to follow to create the above class are:
Create a new class as discussed above.
Select the Stratum # 1, Click on the plus button to add element to the stratum.

Select strtum composition and click on next.

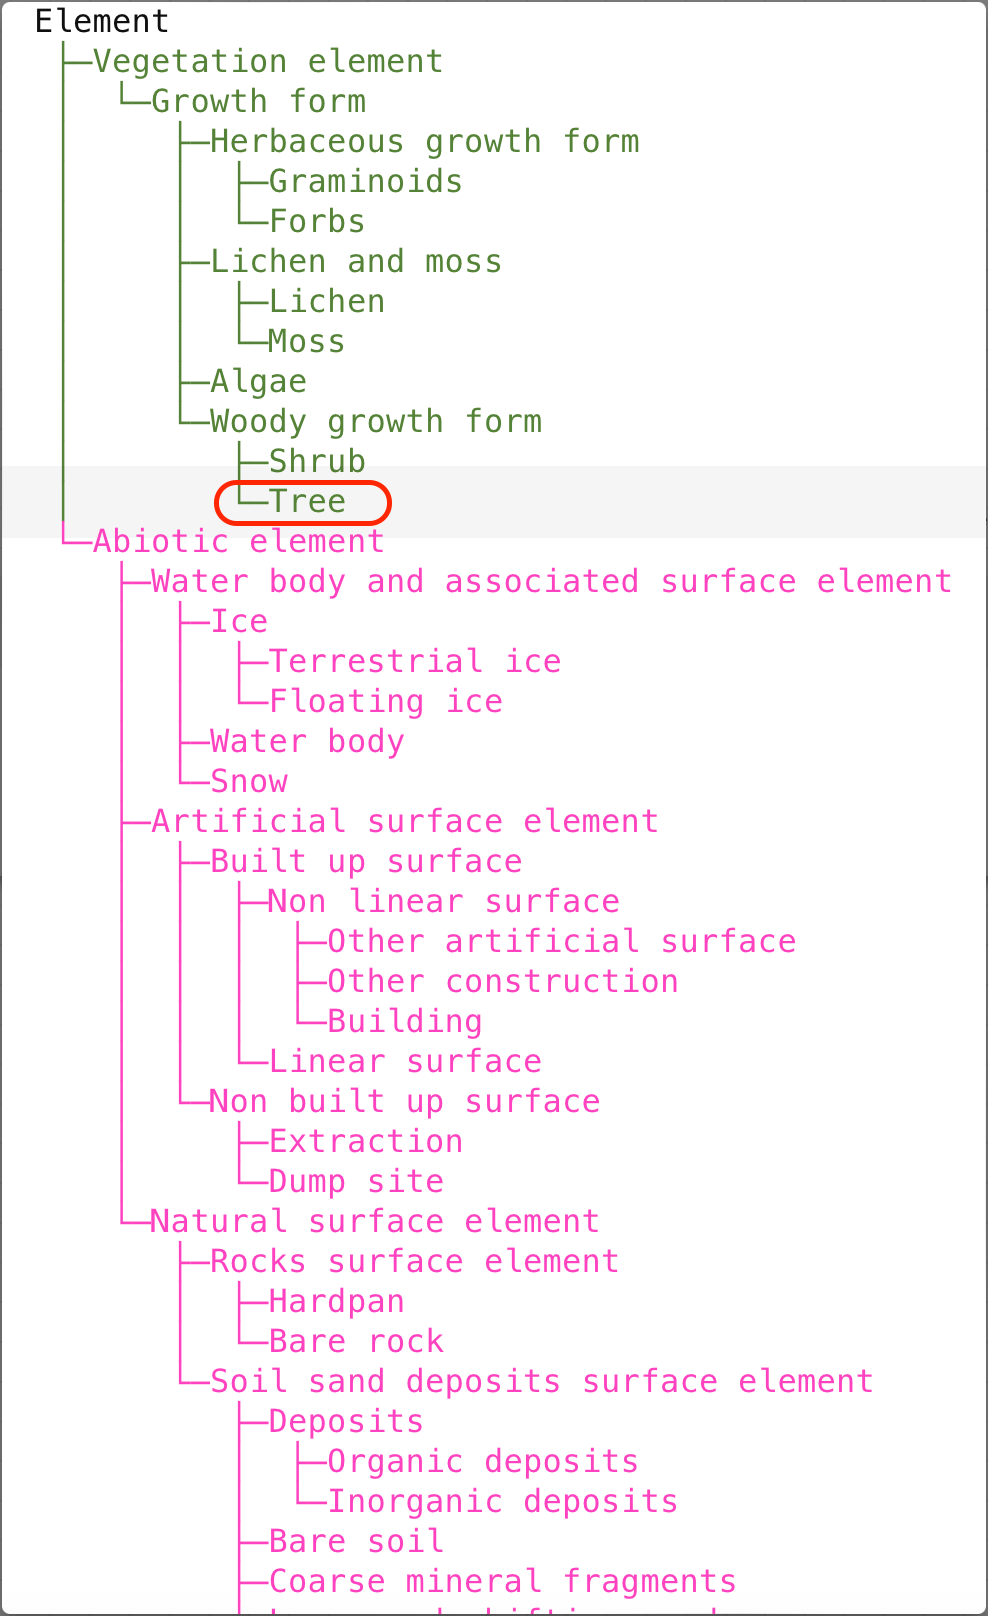
Click on the drop down menu to populate the element list.
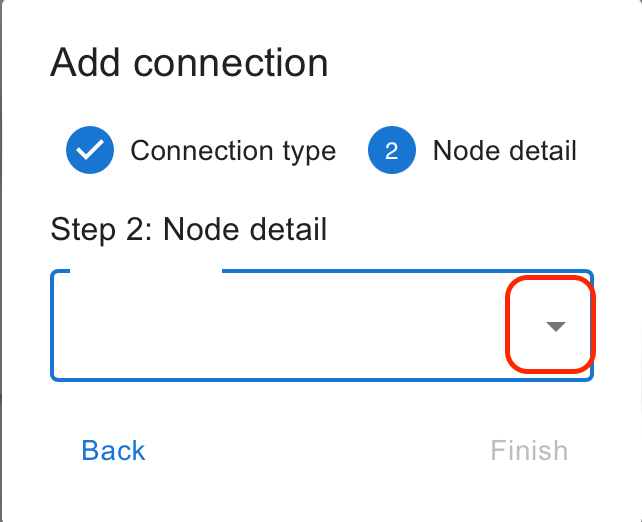
Select ‘Tree’ from the list and click on finish to add the element.
Select the newly added element ‘Tree’ to open the properties box on the right pane.
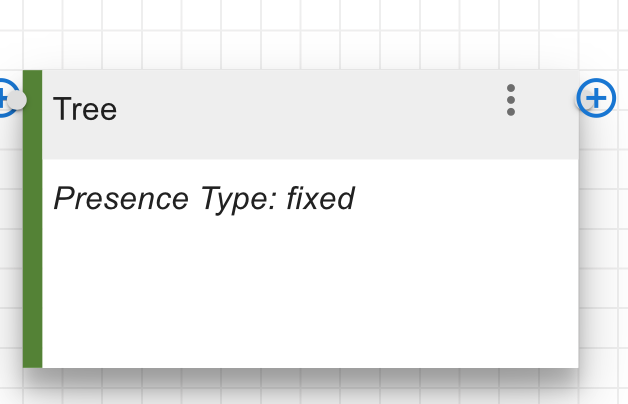
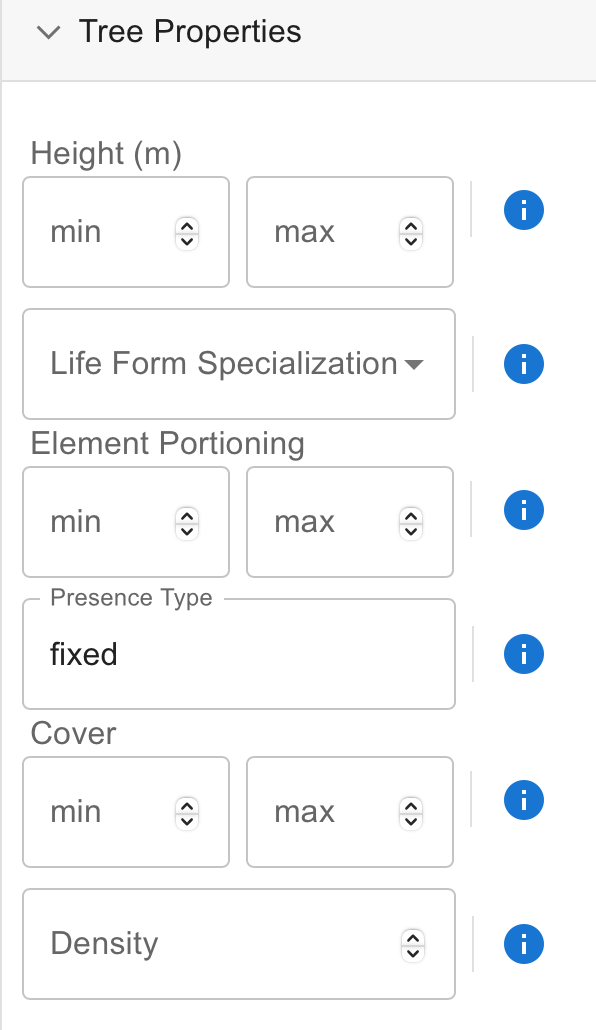
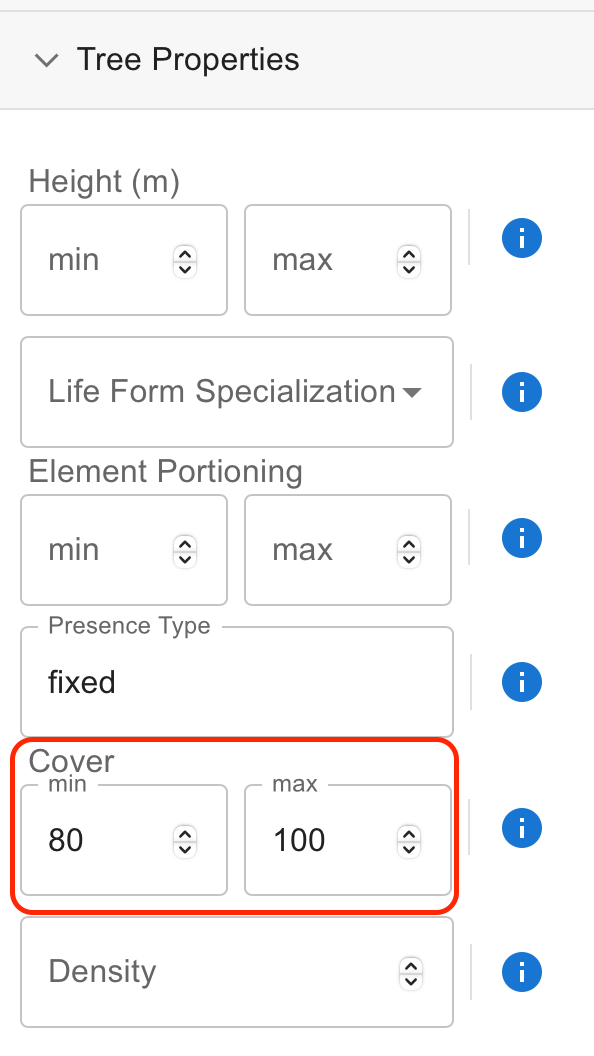
Enter the value of minumum and maximum “Cover” in percentage wanted (80-100%) to the “Trees” element.
Click on the plus icon on the Tree element to open the menu. and select Leaf type, then click next.
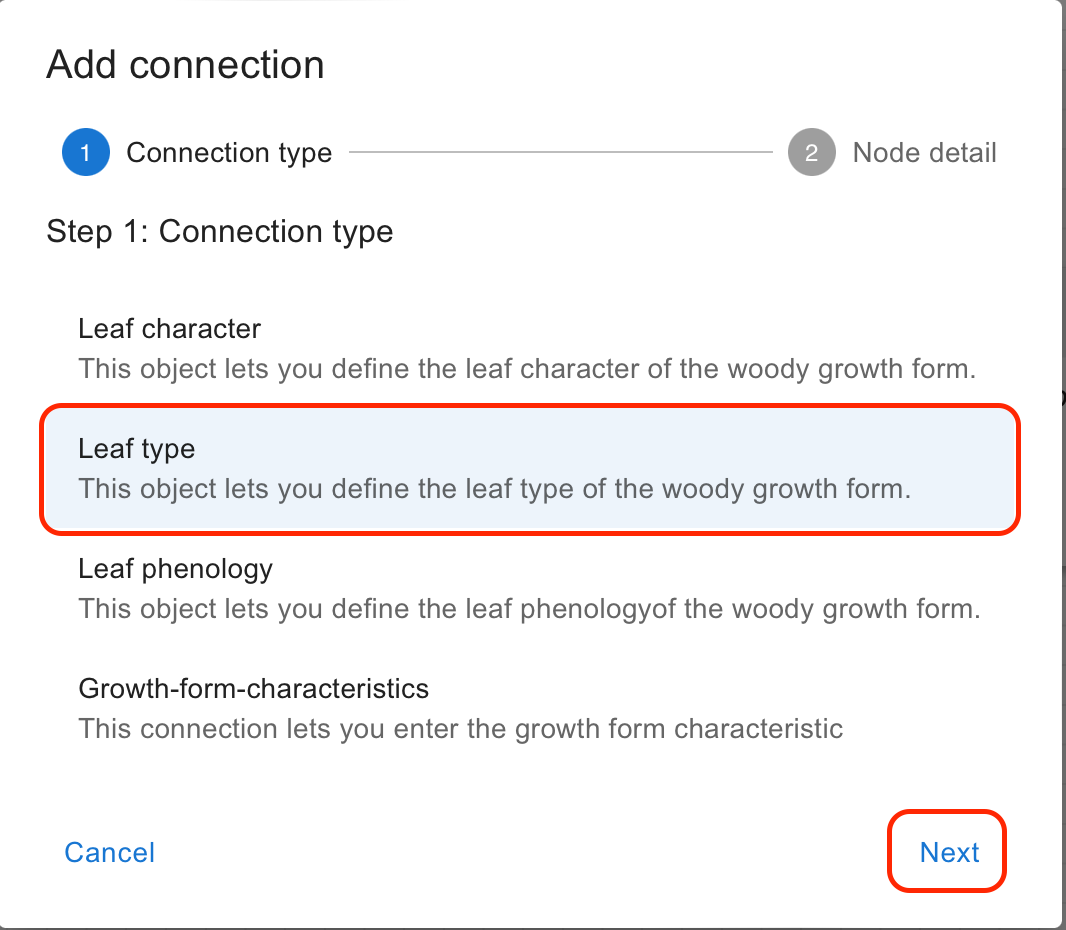
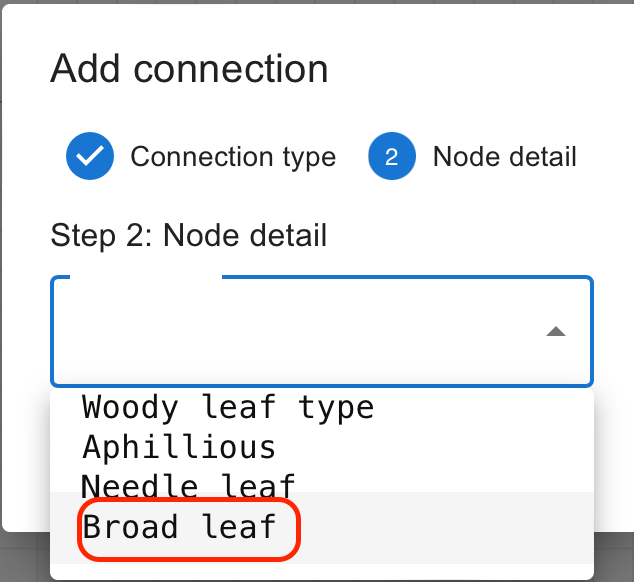
Click on the drop down arrow and select Broad leaf. Click finish to add the node to the “Tree” element.
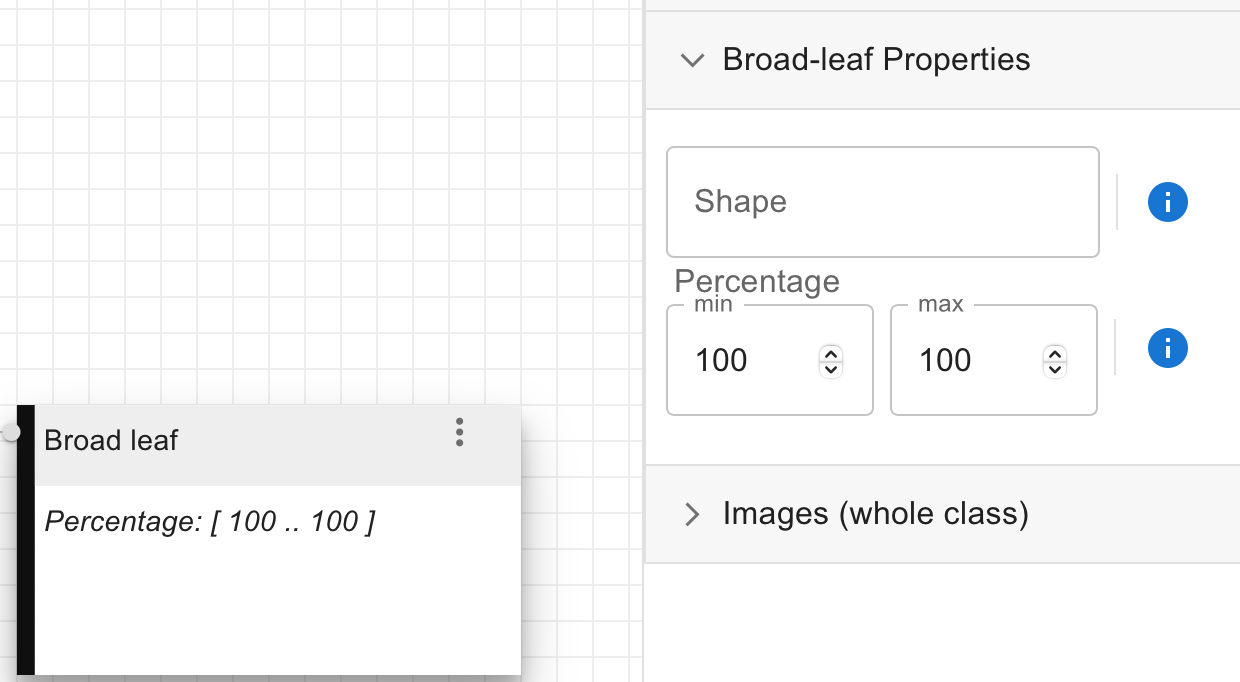
If you click on the Broad leaf node, it will open the properties box on the right pane. By enetering the values in percentage it is possible to determine the % of “broadleaved” trees of the total tree cover, specifically defined in the property “cover”. It is possible either to set a range of values, or to give a fixed value. Please note that these “extra properties” are compulsory, they can be used to further specify the real presence of broadleaved trees such as the characterization of a mixed forest. In our case assuming that all trees of the example are broadleaved, the value is set to 100%.
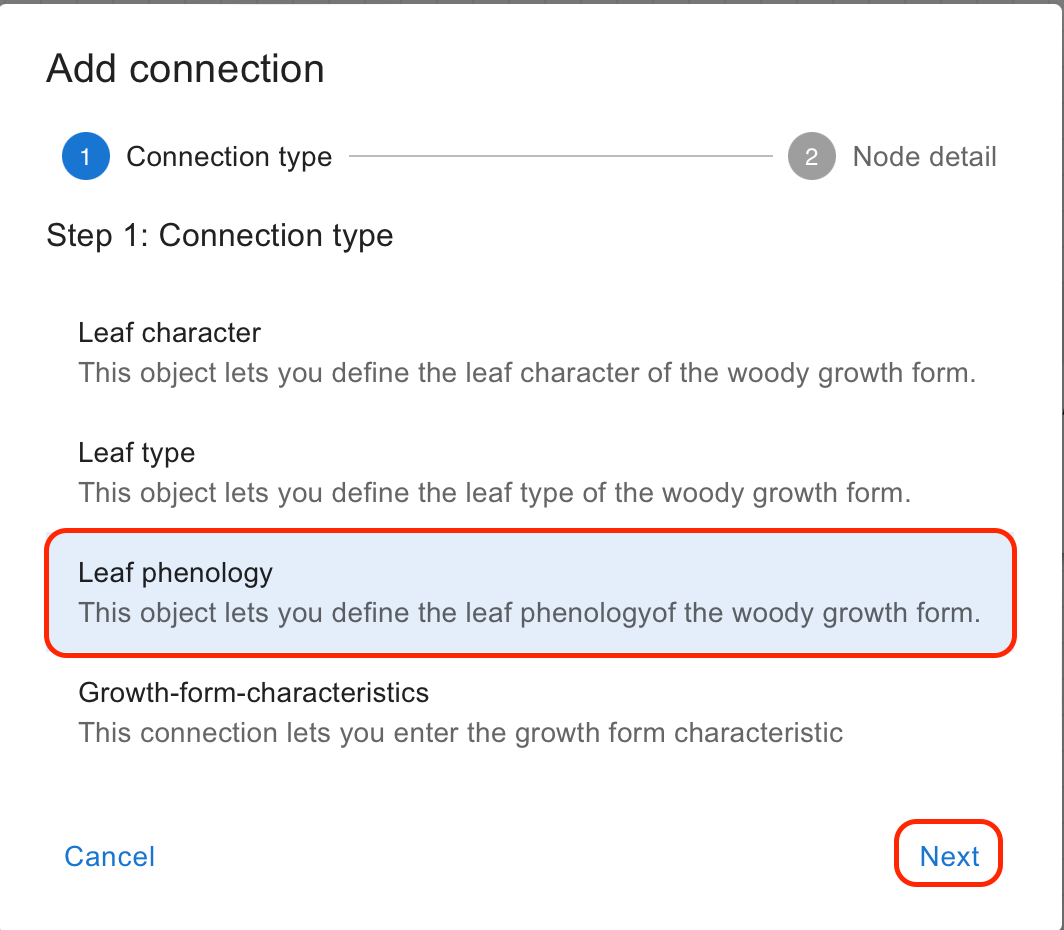
Click on the plus icon on the Tree element to open the menu. and select Leaf Phenology, then click next.
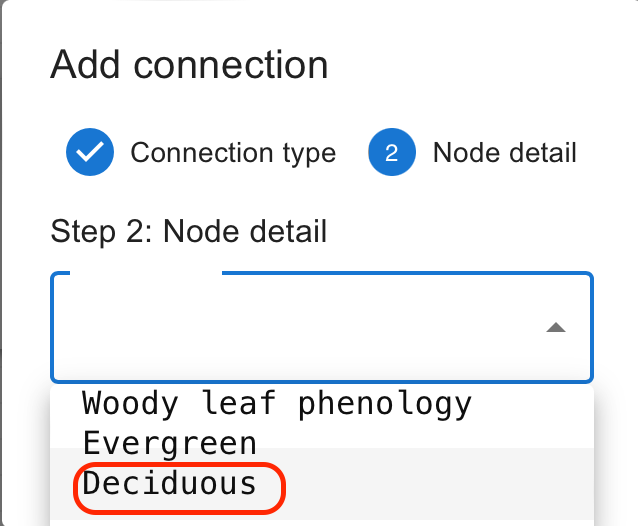
Click on the drop down arrow and select Deciduous. Click finish to add the node to the “Tree” element.
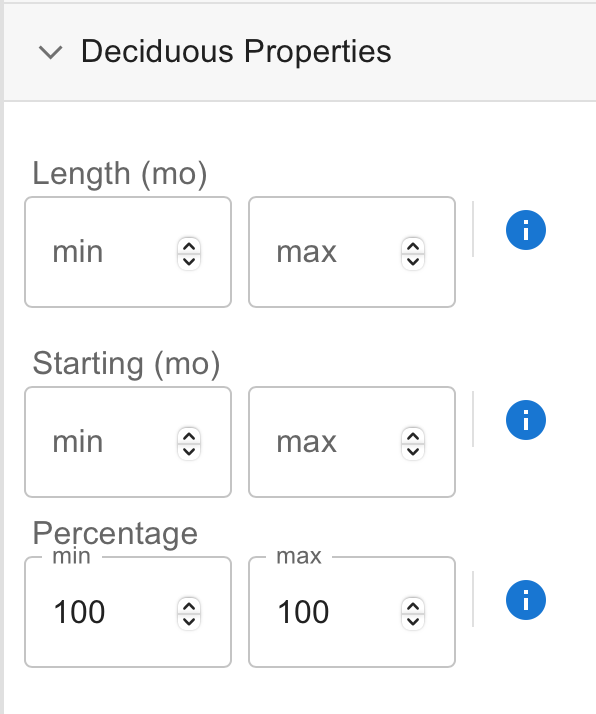
If you click on the Deciduous node, it will open the “Deciduous” properties box on the right pane, which can be set according to the level of detail needed for the land cover feature described. Entering the values of on minimum and maximum percentage is possible either to set a range of values, or to give a fixed value. Assuming that all the trees of the example are deciduous, the value is set to 100%
Click on the plus icon on the Tree element to open the menu. and select Growth-form-characteristic then click next.
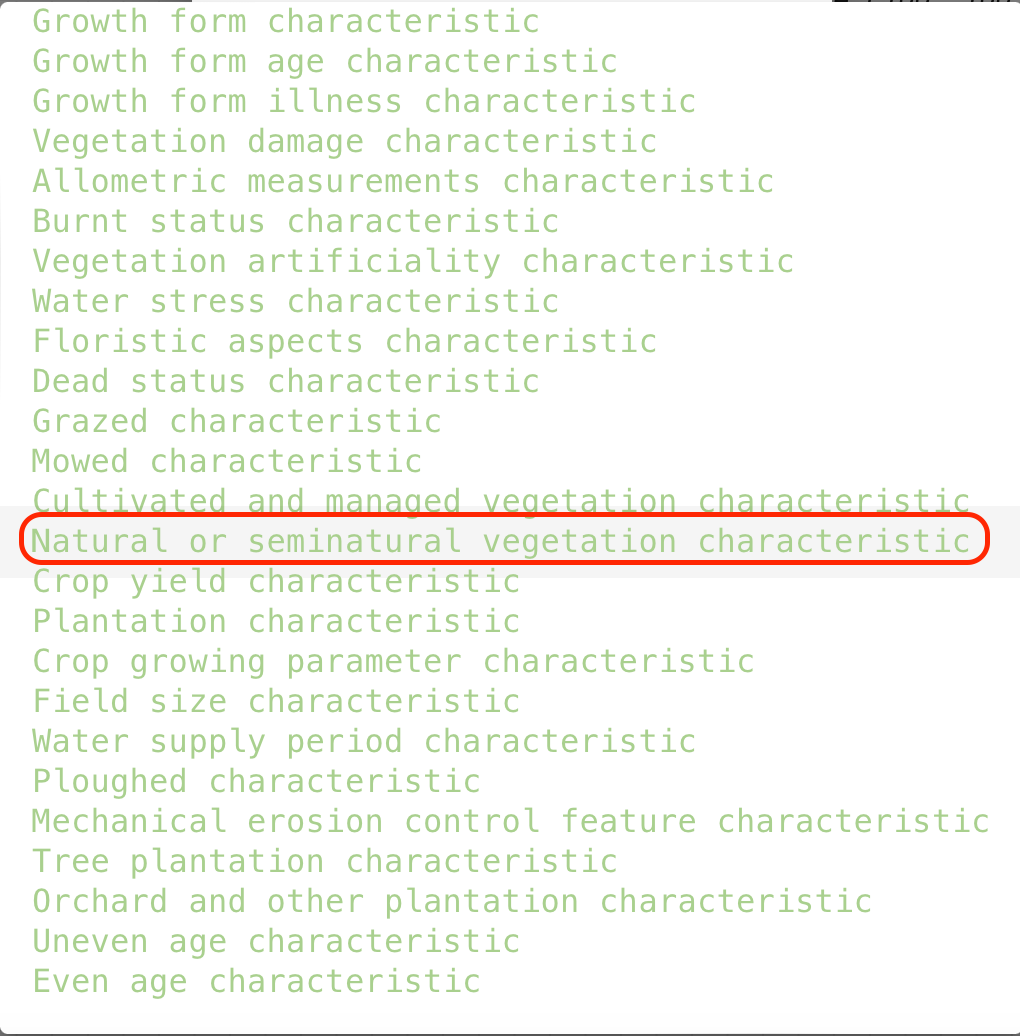
Click on the drop down arrow and select Natural Or Seminatural Vegetation. Click finish to add the node to the “Tree” element.
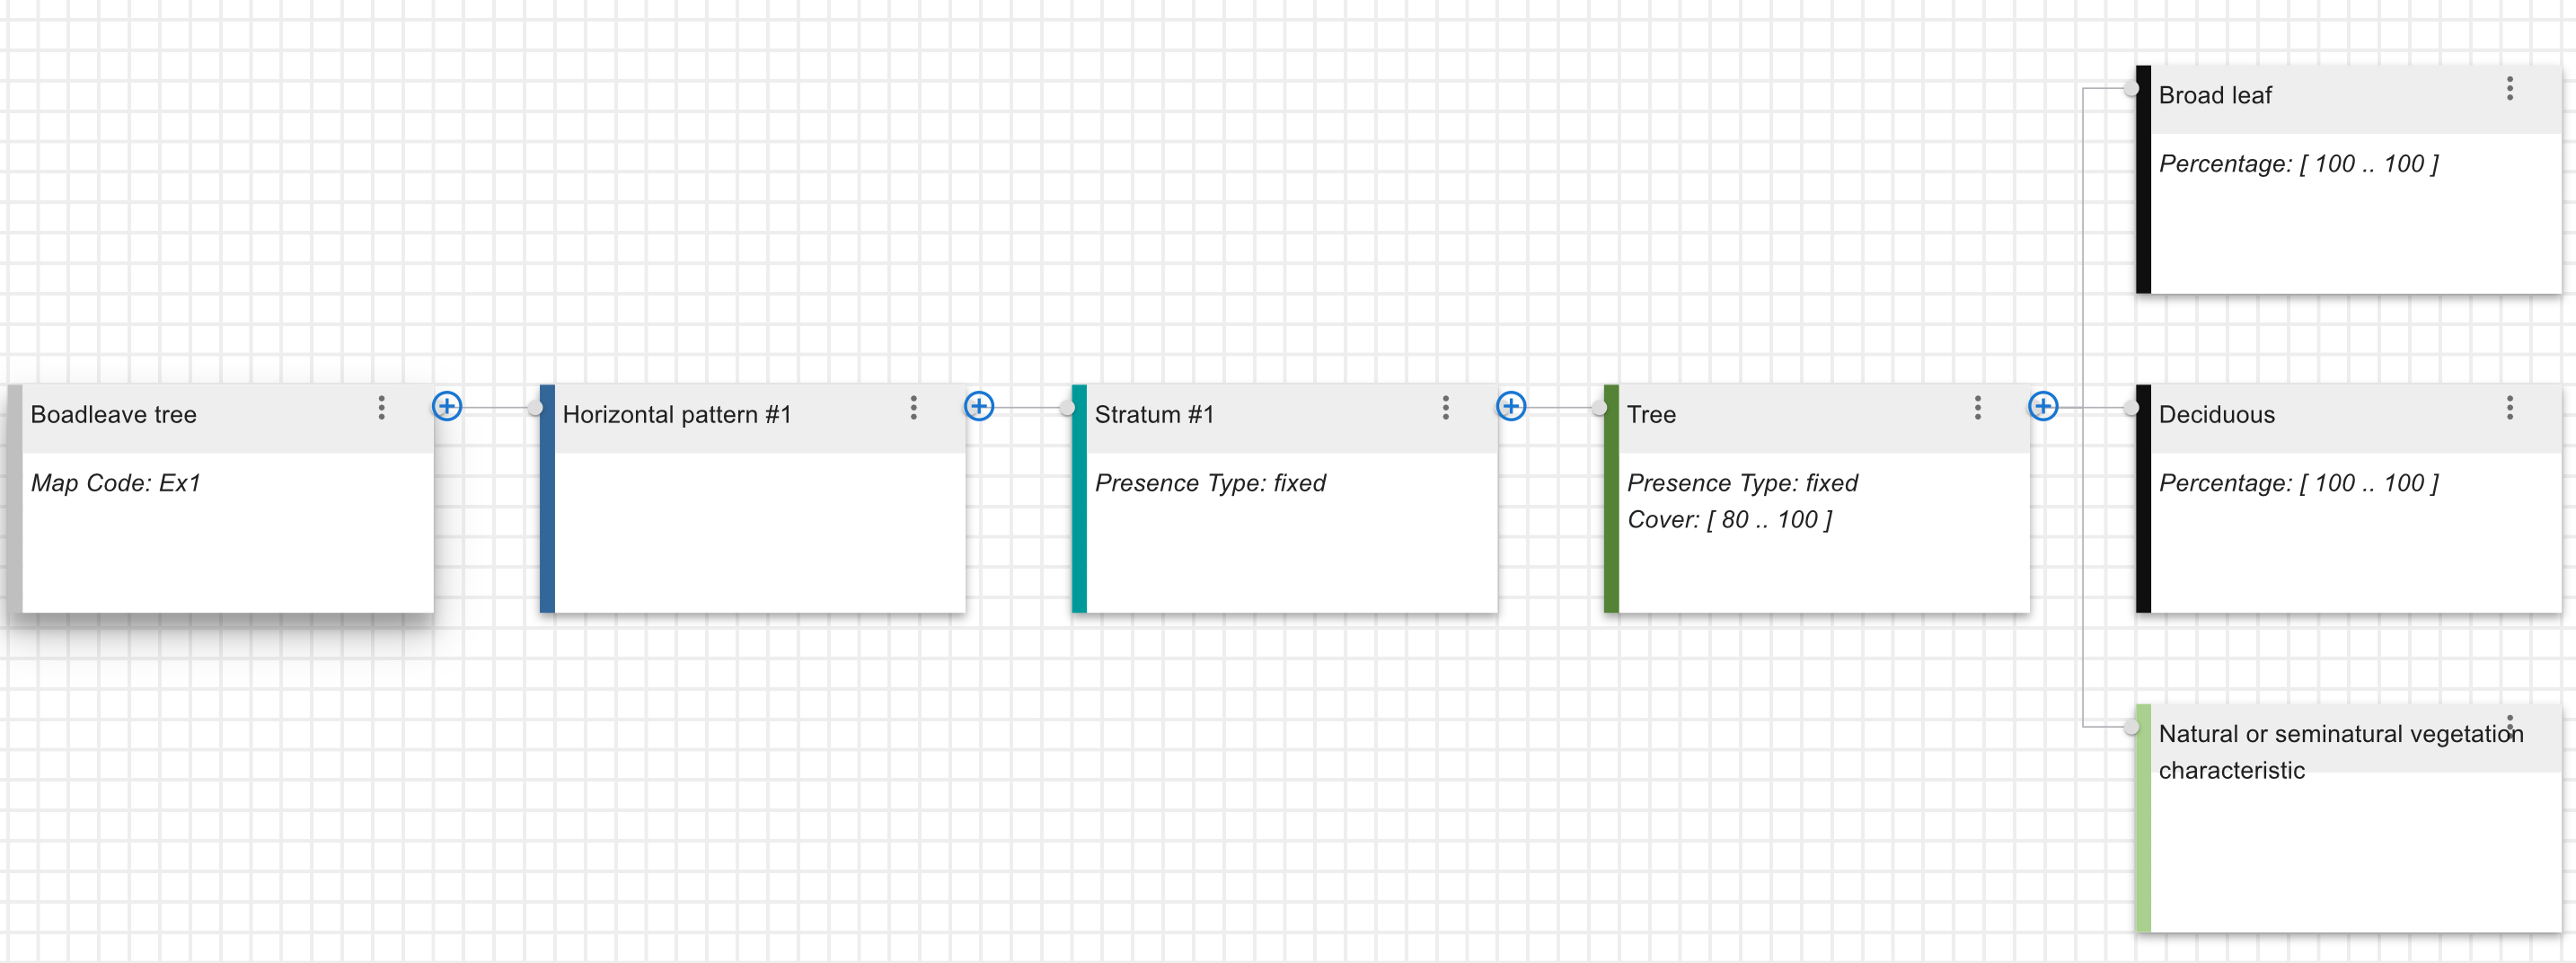
Now the Land Cover Class 1 requested has been created. You rearrange the element by clcing on the auto-arrange button. It will give you the following result:
Example 2 - orchard of apple trees#
Postulation:#
There is no extra “HorizontalPattern”;
there is only one “Vertical Pattern” composed by trees with the same Properties of Example 1;
the Trees are cultivated (Apple Orchard), so they have to be described using the Vegetation Characteristic “Cultivated and Managed”…
As can be seen from the above assumptions, the land cover class to be described is the same of the example 1, except for the fact that the LCML element “Trees” is cultivated. So, the steps of example 1 must be repeated, this time including the insertion of the “Cultivated and Managed” vegetation characteristic instead of “Natural Semi-natural”. Alternatively, instead of repeating all the steps, it is possible to copy the land cover class of Example 1, changing only the vegetation characteristic and keeping its properties given that they are exactly the same.
The steps to follow are:
Copy the land cover class of example 1 in the legend.
Select “broadleaved deciduous natural trees” example 1, in the class selector. Click on the menu
 , then select “Duplicte branch as new class..”.
Enter the name of the new class (orchard of apple trees).

The selected element (broadleaved deciduous natural trees, in the example) will be copied and will be the current class; the number of classes will become two.

Delete the Characteristic of example 1 not fitting with the description of the present class.
The Characteristic “Natural Or Seminatural Vegetation” should be removed since the class we are creating represents cultivated apple trees. To remove the Characteristic “Natural Or Seminatural Vegetation” click on the object menu
with the mouse and choose “Delete..”.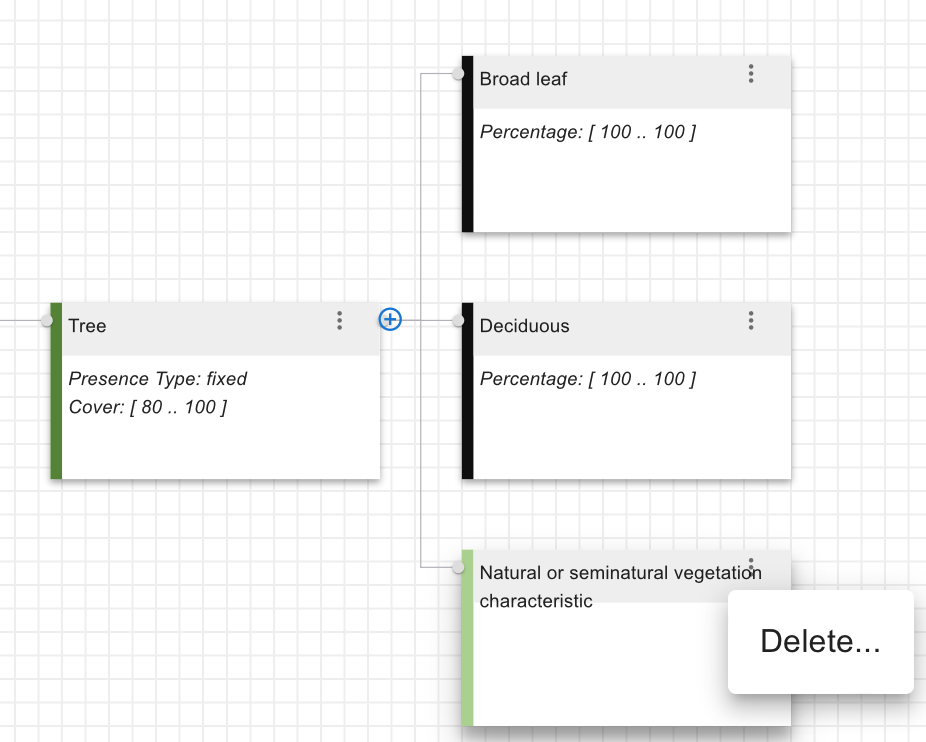
Confirm the operation by clicking ok!

Add the Characteristic “Cultivated And Managed Vegetation”.
Click on the plus icon on the Tree element to open the menu. and select Growth-form-characteristic then click next.
Click on the drop down arrow and select Cultivated And Managed Vegetation Characteristics. Click finish to add the node to the “Tree” element.

Add the Characteristic “Orchard and Other Plantation”
Click on the plus icon on the Tree element to open the menu. and select Growth-form-characteristic then click next.
Click on the drop down arrow and select Orchard and Other Plantation Characteristics. Click finish to add the node to the “Tree” element.
Add the “Apple” plant species.
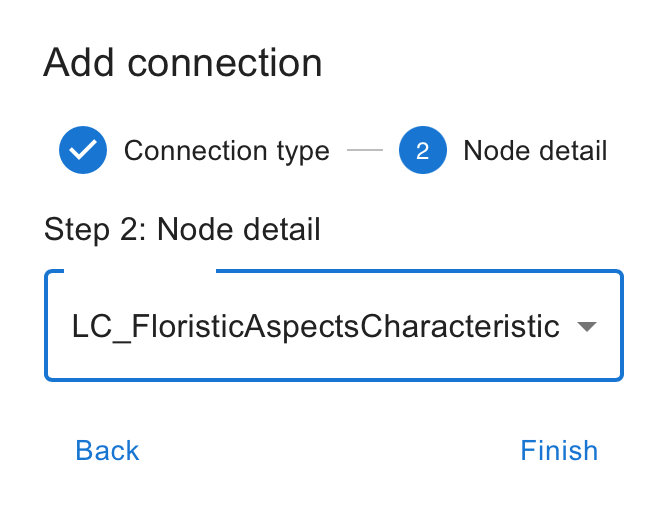
Click on the plus icon on the Tree element to open the menu. and select Growth-form-characteristic then click next.

Click on the drop down arrow and select Floristic aspects Characteristics. Click finish to add the node to the “Tree” element.
Select the Floristic aspects Characteristics object and open the class information pane on the right side of the screen.
Expand the LC_FloristicsApspectsCharateristics properties and type Apple under species name.
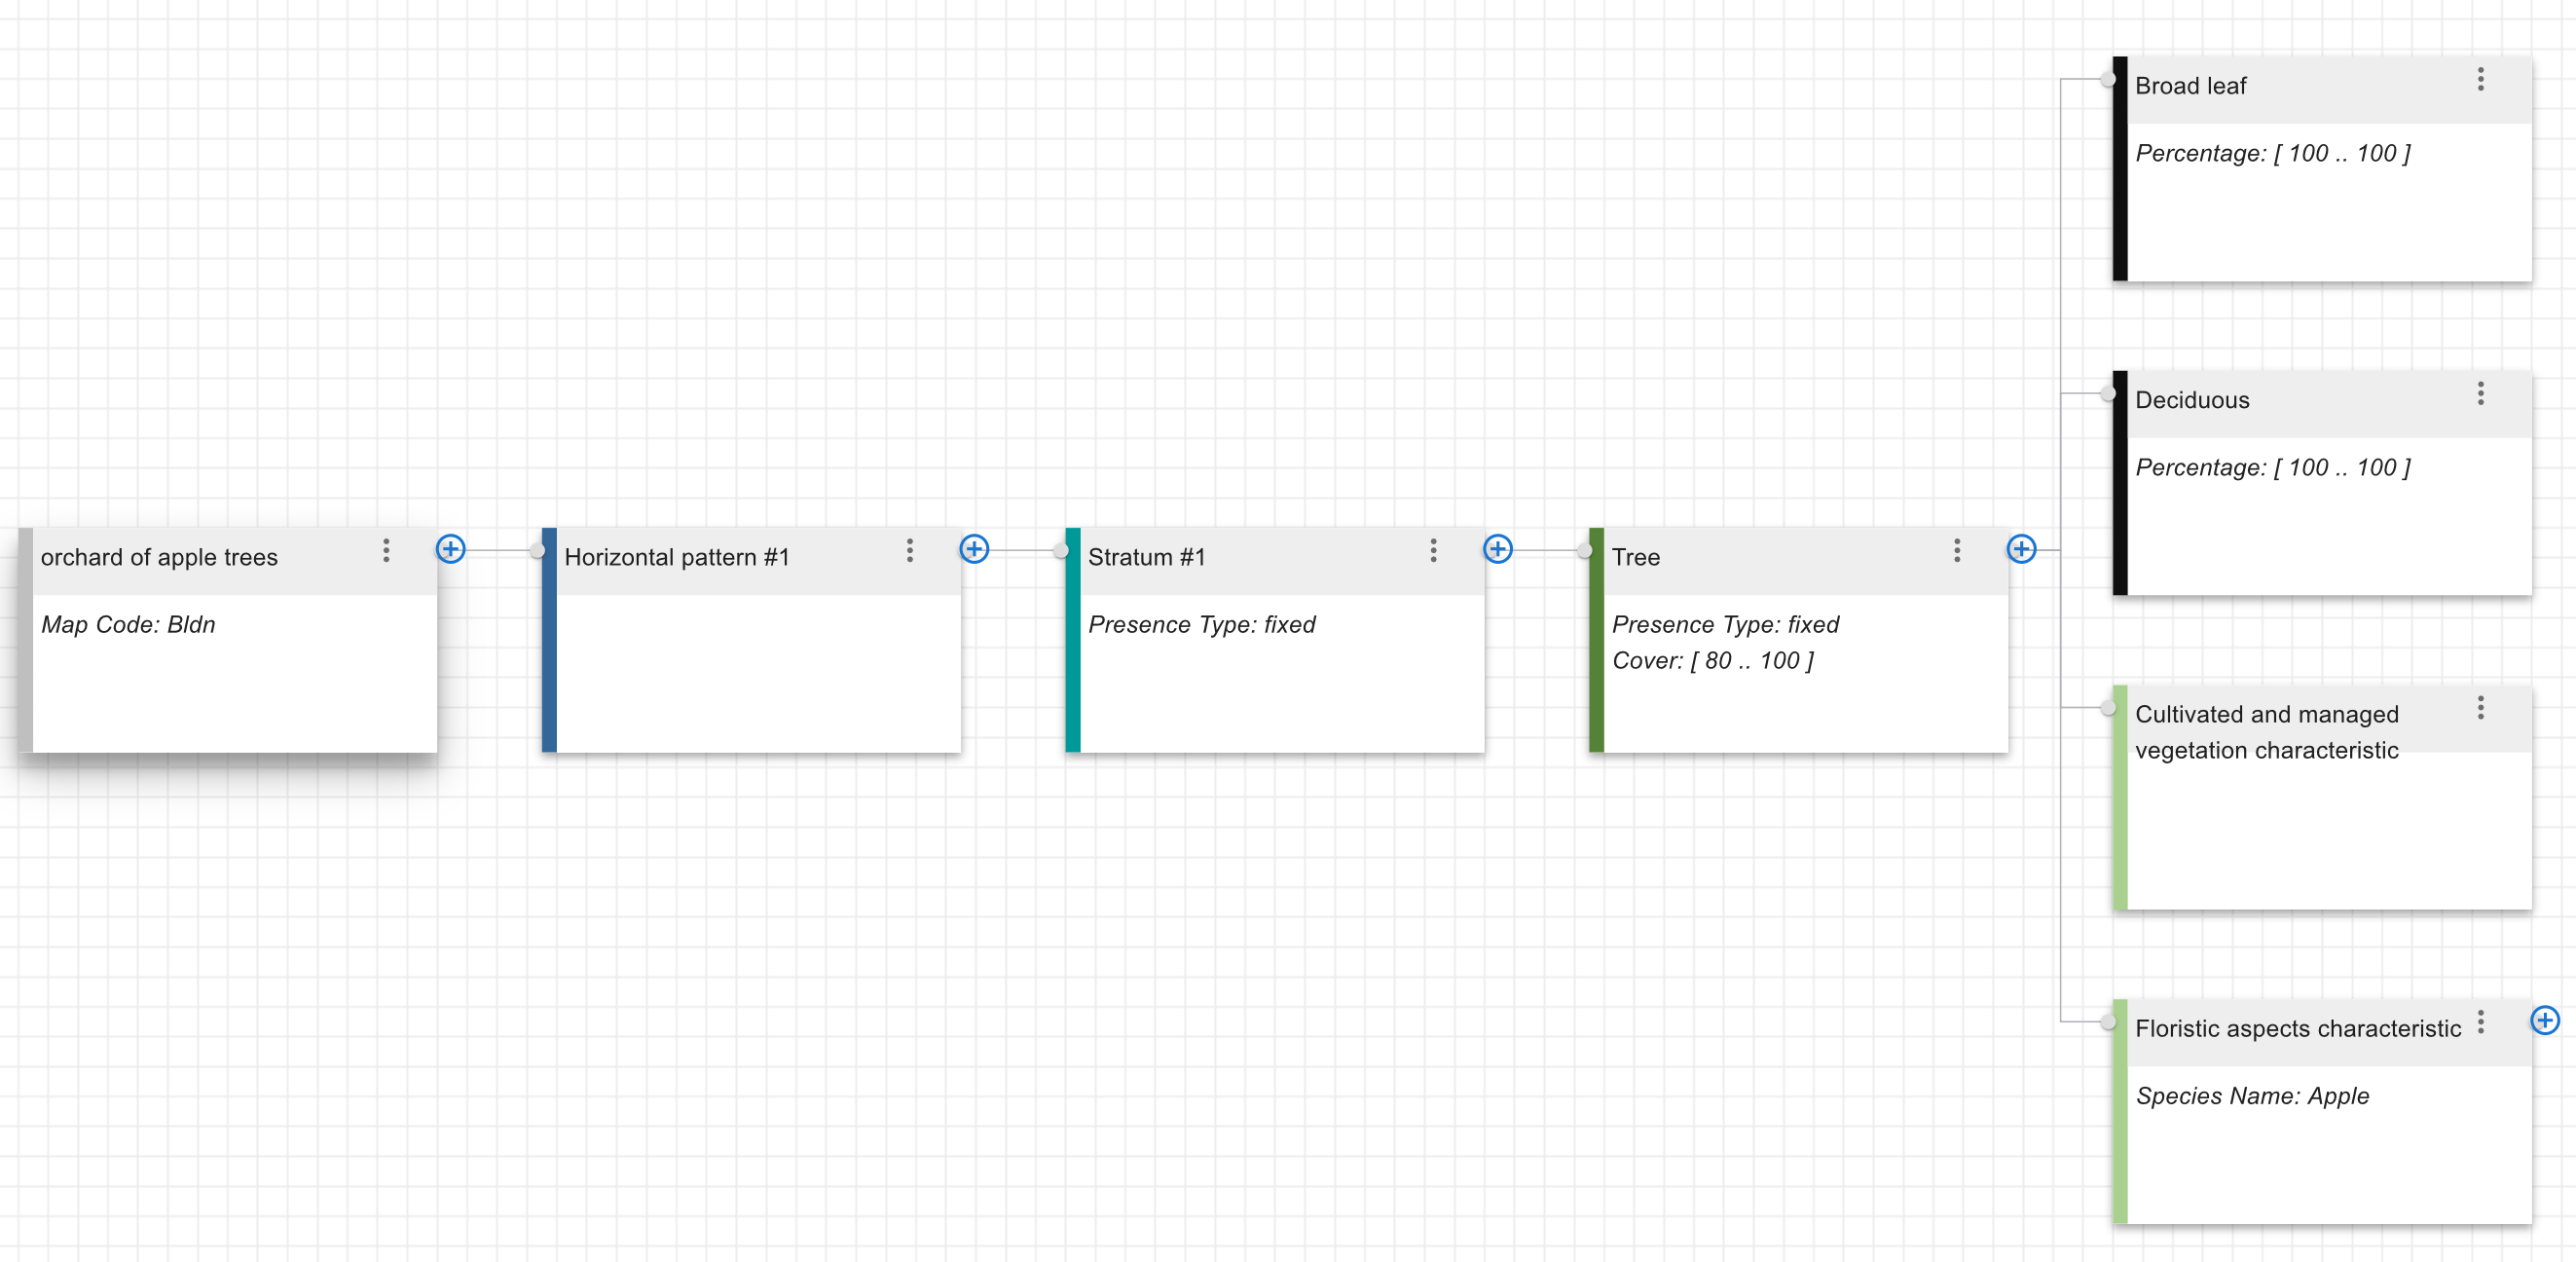
Now the Land Cover Class 2 requested has been created as shown bellow.